Knowledge Base
Tags
Last updated on April 8th, 2024
Tags
Tags are a powerful tool to help you keep your jobs and inventory organised in the way that you see fit, and then see that at a glance from the job/inventory list page. You can use them any number of ways:
- The type of work being done
- Which teams have jurisdiction over the job
- By priority, deadlines, or turnaround time
- Labelling jobs that require special considerations, such as handling dangerous materials
- Labelling available variations of inventory items, or which items are special order
- Any other way you like
Editing/Adding New Tags
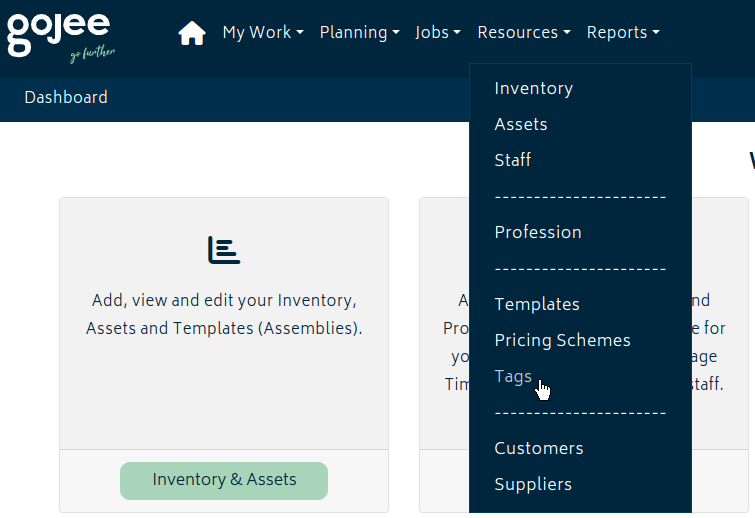
You can find the Tags menu under Resources > Tags.
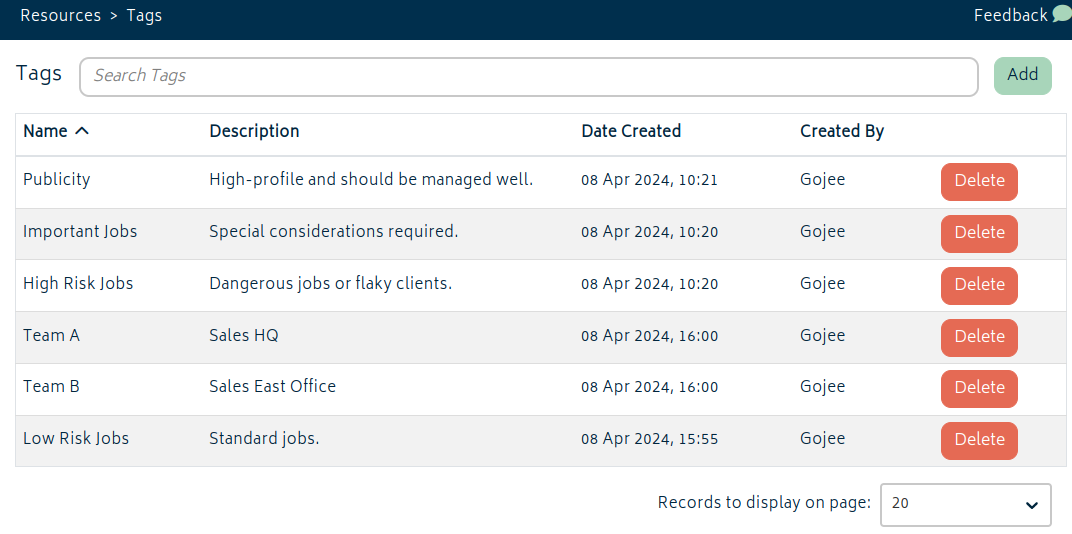
From here, you can add new tags or edit existing ones. Click anywhere on the field of an existing tag to edit it, or click the Delete button if you want to permanently remove it.
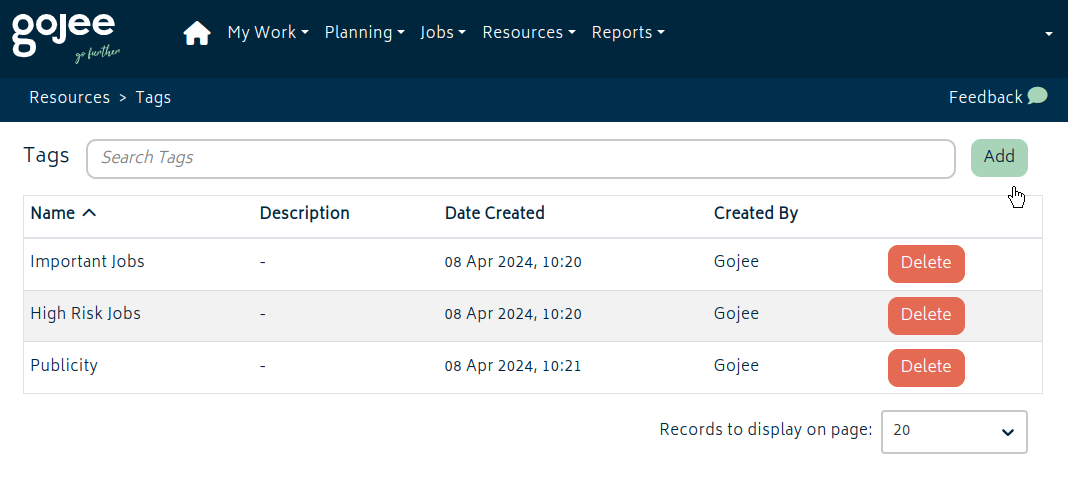
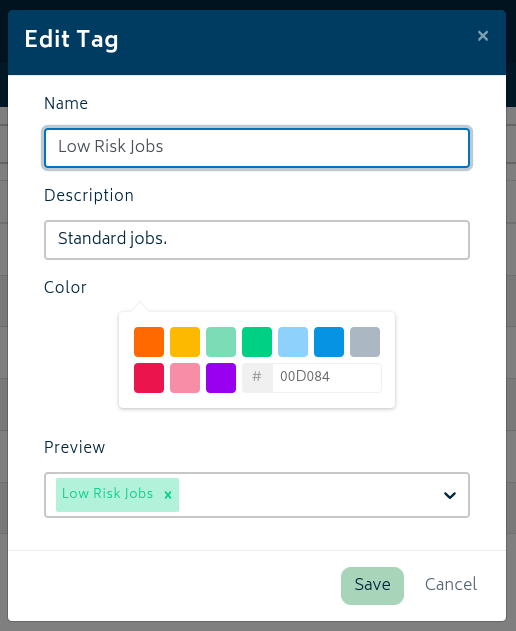
Click the “Add” button to create a new tag. You can set the name, description, and the colour visible when in use.
With your tags set up, you’re ready to start applying them.
Applying Tags
Tags for jobs are easy to set up. They can be selected when making a new job or editing an existing one. Go to the Customer Jobs list and select a job.
At the bottom of the Job Settings page, you will find the tag list. You can select multiple tags for each job.
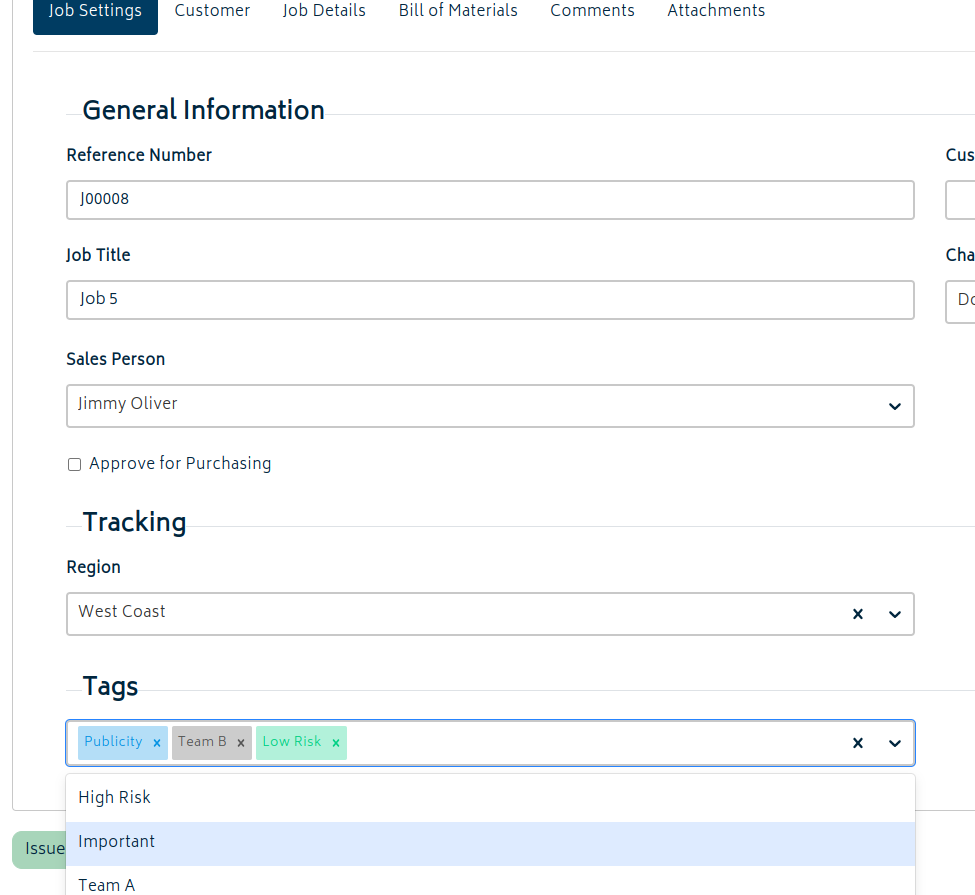
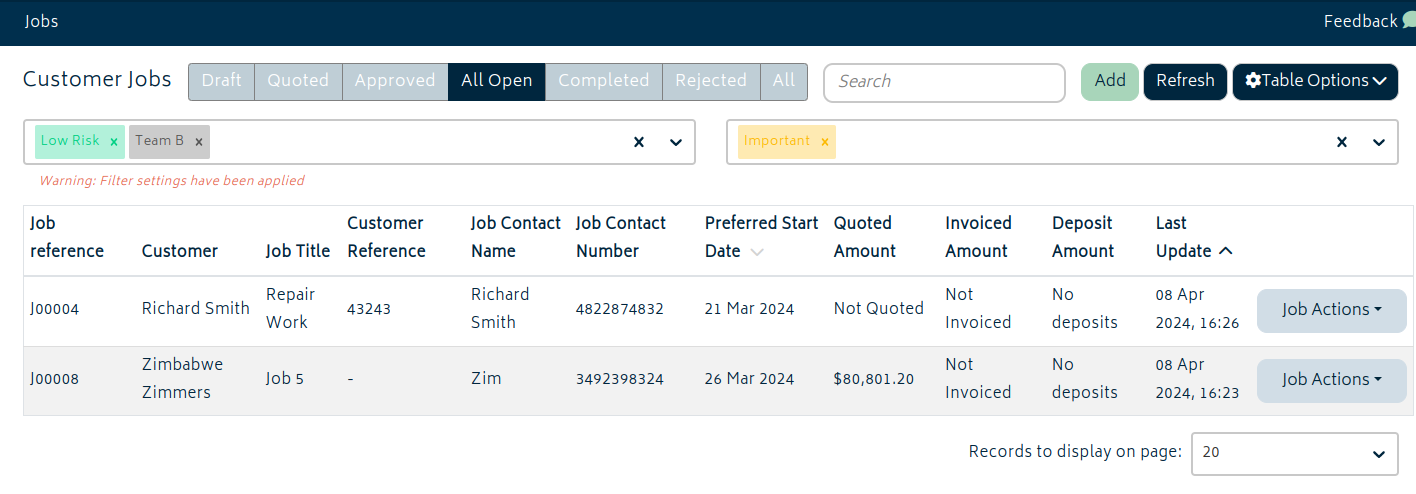
You can then use these to filter from the job list, much the same way as you are able to use other filters.
For inventory items, tags can be applied when creating or editing an inventory item. Note that at present, tags are available for use anywhere – so when selecting a tag, all tags will be able to be selected from the list.